

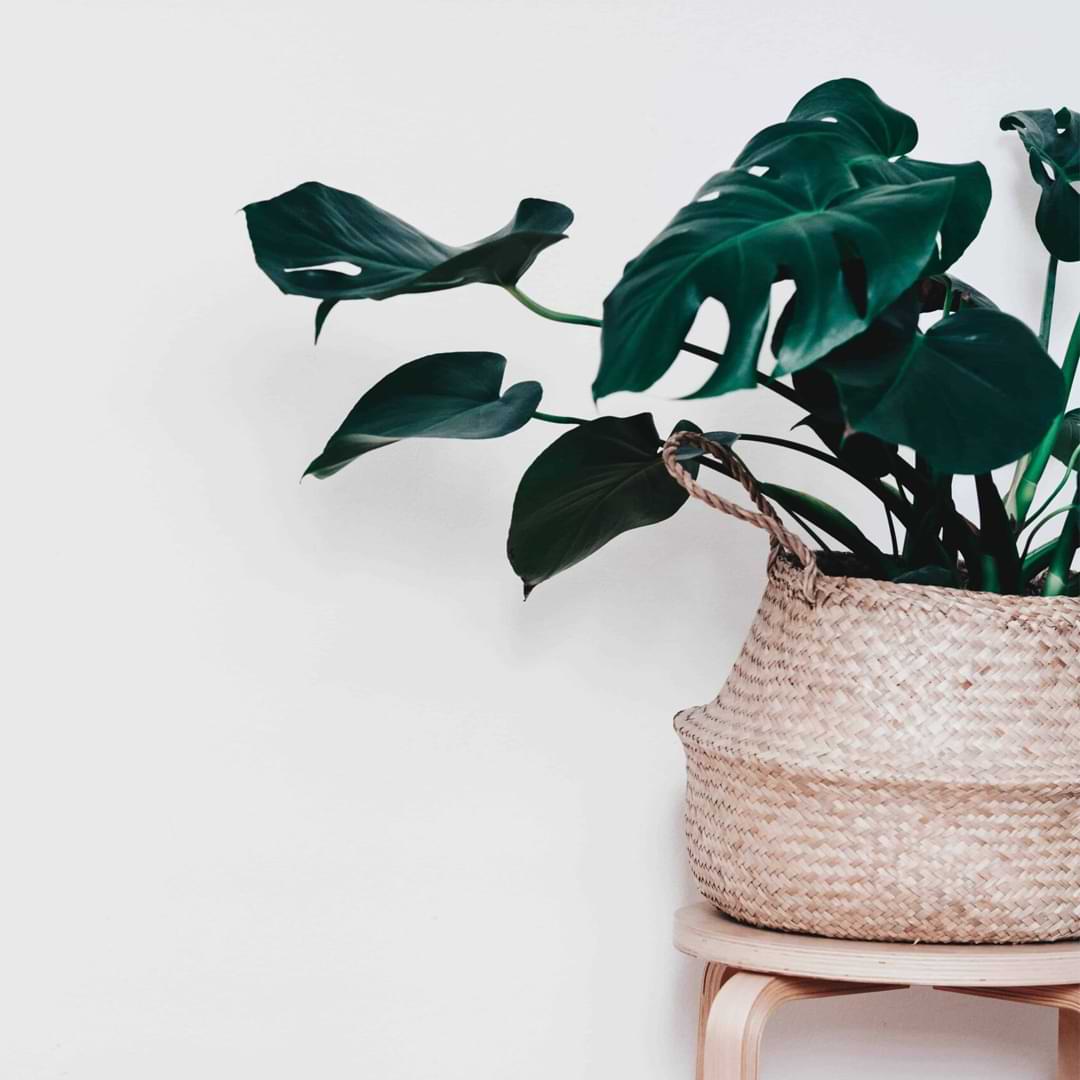
Repotting is a reality of plant parenthood. Most plants need to be repotted at least every few years, and this can be stressful! Repotting can cause shock, leaf drop, and can be really tricky for bigger plants. We’ll walk you through the process for how to repot a monstera, but first, it’s important to know why repotting is necessary at all.
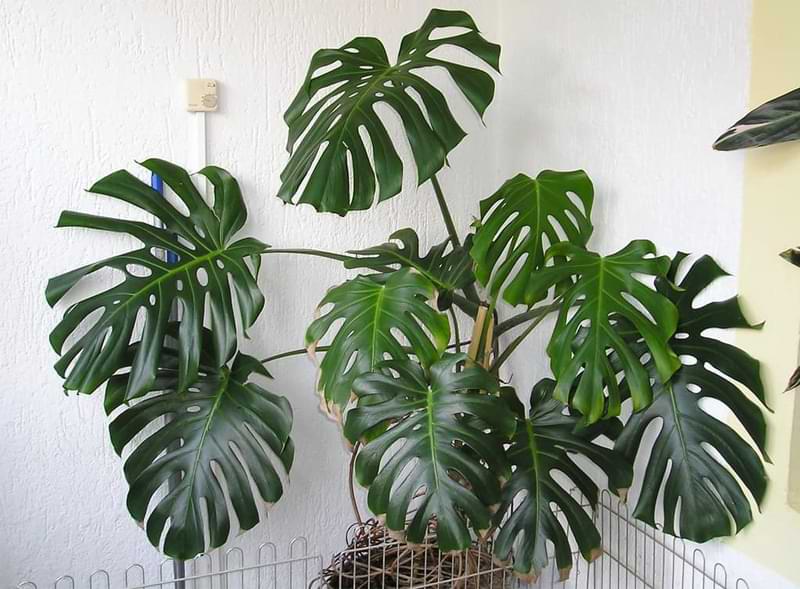
Luckily, monsteras don’t mind being a little root-bound and only need to be repotted every two years or so. However, monsteras can be especially tricky to repot because they’re climbing plants without a nice solid trunk, and they may also include a moss pole. That can make this plant downright unruly to handle while switching pots!
When and Why to Repot Your Monstera
Reasons for repotting are threefold:
- Repotting gives the roots room to grow. You’ll know your plant has outgrown its current pot when you see roots popping out all over the place, including the top of the pot and even out the drainage holes.
- It prevents the soil from compacting. A heavy block of soil doesn’t absorb water very well, which can lead to a dried-out, sad plant. If you notice the soil pulling away from the edge of the pot or if water just sits on top of the soil without sinking in, you’ve got compacted soil. Be sure to use a well-draining soil such as our Premium Potting Mix.
- It gives the plant fresh new soil (and nutrients). Plants can use up the nutrients in their potting soil within a few months. This is why fertilizer is so important! But it’s important to completely change out the soil every once in a while, and repotting is your chance to do this.
Repotting can also be a good way to combat diseases like fungal root rot and bacterial infections.
Here’s how to repot your monstera when the time comes, even if your monstera is huge or climbing up a moss pole.
How to Repot a Monstera
Step 1: Choose the best time.
Early spring is the best time to repot. Your monstera will probably hit a growth spurt during this time, so it should recover from repotting quickly.
If your plant is showing signs that it needs to be repotted earlier, however, go ahead and repot. These plants are hardy, and if the roots are absorbing water or if it’s bursting from the pot, you’re better off repotting without delay.
Step 2: Pick your new pot.
Start by selecting a pot that’s only slightly larger in diameter than your old one, but several inches deeper. You want it deep enough to accommodate a sturdy moss pole, whether your plant already has one or if you plant to add one in the future.
You don’t want to go too big here, because a pot that’s way larger than your roots can hold more water than the plant can use, which can lead to over-watering and root rot. (If your monstera does have root rot, treat with our Root Rot Treatment.)
Make sure your new pot has plenty of drainage as well.
Step 3: Choose your soil and prep your pot.
Regular indoor potting mix works well, but I recommend our premium well-draining potting soil.
Fill the pot about 1/4 – 1/3 of the way with potting mix. If you’re adding a new moss pole, you can stick it in the soil at this stage.
Step 4: Remove the monstera from its old pot (you might need help).
To remove your monstera from the pot, turn the pot over and gently coax the plant out. If it doesn’t want to budge, try jiggling the pot a little, but don’t pull on the plant. Whatever you do, don’t try pulling it straight out of the pot! That’s a good way to break roots, stems, and leaves.
If your monstera is very large, you might want to recruit a friend (or even two) to help you. For large plants, it works best if one person holds the pot while the other supports the roots as they come out. If necessary, a third person can support the top part of the plant during the procedure.
If your monstera has a moss pole and is well-attached, hang onto the pole as you remove the plant from the pot.
Step 5: Put the plant in the new pot.
If you’ve added a new stake, arrange the plant around the stake. If the roots are too packed for this, carefully dig a narrow, deep hole large enough and insert the pole. Use twist ties to attach your plant to the stake if necessary.
If you’re transplanting the monstera with its old moss pole, carefully place the roots and pole into the pot. Sometimes it helps to hold the plant over the new pot, firmly stake the pole into the pot, then gently lower the roots down.
Fill in the gaps around the roots with more potting soil. It should be fairly dense, but not super packed. Add a layer of potting soil on top as well, leaving about 2 inches of clearance at the top.
Step 6: Water well.
Add filtered water until water comes out into the drainage holes. The soil might sink a little, so go ahead and add more potting mix if necessary.
Your monstera should adjust quickly to its new pot, but it’s normal to see a little droopiness. Just put it back in its spot with lots of bright, indirect sunlight, and hold off on the fertilizer for about 4 weeks.
For more on proper watering, read our Ultimate Monstera Watering Guide here.
It’s not as hard as it sounds!
That’s all there is to it! Monsteras can be a little hard to handle while you’re repotting, but with a plan and maybe an extra pair of hands, it’s really not much harder than repotting any plant. You’ve got this!
To learn more:
- Sign up for our free Ultimate Monstera Webinar.
- Subscribe to our newsletter.
- Click to join our community on Facebook: Monstera Plant Resource Group.
- Read our Ultimate Monstera Watering Guide here.
- Be sure to grab your essentials here: Monstera Plant Food, 3-in-1 Moisture Meter, Premium Potting Soil, Houseplant Leaf Armor (which protects your houseplant from bacteria, fungus, and insects—and also cleans and adds shine to its leaves!)
- Looking to shop for plants online? Our trusted partners at Houseplantshop.com grow high-quality plants here in California and ship directly to you. Shop online now!
- If you’d like a moss pole for your monstera to climb, shop online (short or tall) or make one yourself!