

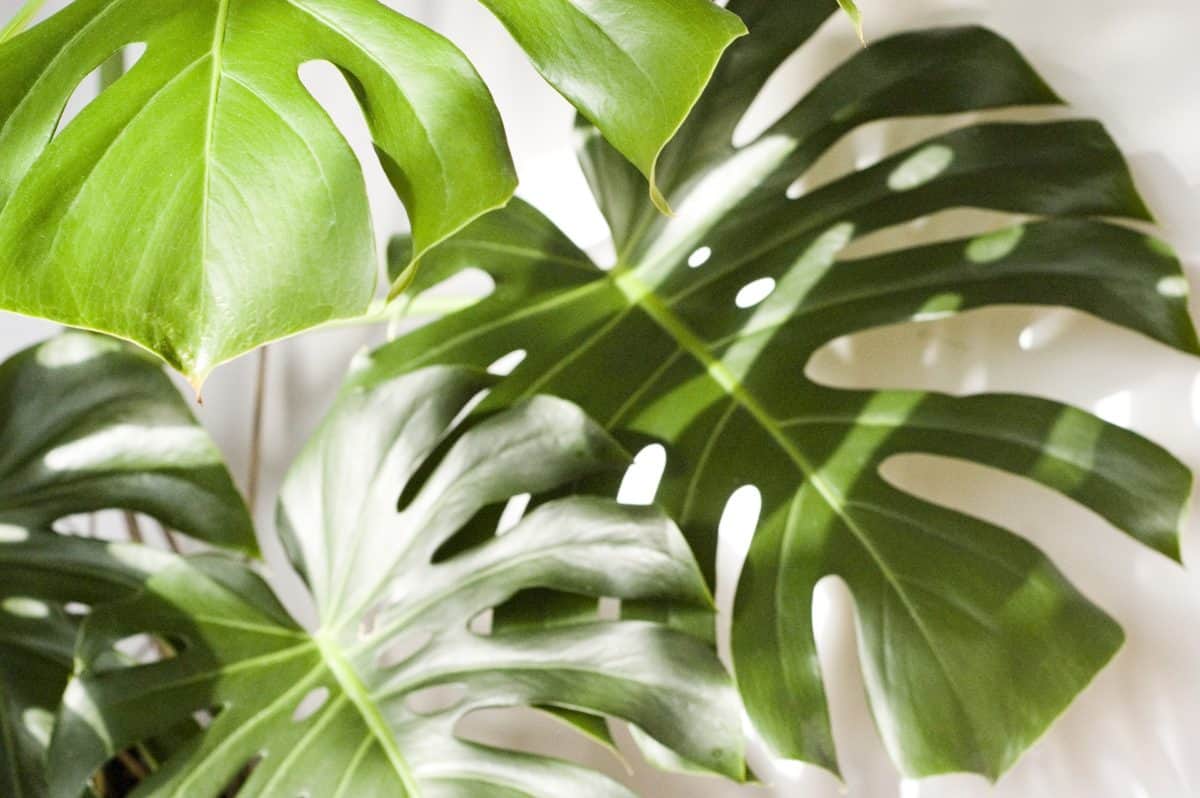
Monsteras are climbing plants, which means they put out aerial roots to attach themselves to other trees in the rain forest and “climb” upward toward the light. Pretty cool, right?
This means that if you keep a monstera in your home, it will need something in its pot to climb. Some monstera owners opt for a trellis, a wall, or even an indoor tree, but most people go for a moss pole instead.
Moss poles are just what they sound like: sturdy sticks or poles coated with moss. These work really well because the moss provides texture that’s easy for the monstera’s aerial roots to attach to.
You can buy moss poles ready-made at some nurseries and garden stores (or online: short or tall), but a DIY moss pole is inexpensive and easy to make.
Table of Contents
Make a DIY Moss Pole in Just 3 Easy Steps

What you’ll need:
- A pole, thick wooden dowel, or PVC pipe a foot or two taller than your monstera
- Sphagnum moss (you can buy this in nurseries or online)
- String, fishing line, twine, or something else to tie with
- Rubber gloves (in case your moss is a little pokey)
- Large bowl or tray filled with water
Once you’ve gathered your supplies, find a place outside or somewhere indoors where you can make a mess—because this can get a little messy!
How to Make a DIY Moss Pole
Step 1: Soak the moss.
Place the moss in the bowl or tray with water and let it soak for 15-20 minutes.
Step 2: Tie the moss to the pole.

Tie your string tightly around the top of the dowel or PVC pipe and make a strong knot.
When your moss is good and soaked, put on your gloves, grab a piece of moss, wring it out so it’s damp but not wet. If the moss is dripping everywhere, wring it out again.
Then spread the moss apart a little so it’s more like a flat sheet than a big clump. Wrap the flattened moss section around a section of your pole just under the spot where you tied the string. You’re going for a ½”-1″ thick layer of moss, so don’t lay it on too thick.
Then take the tail of the string you tied to the pole and wrap it tightly around the moss to secure the moss to the pole. It might be easier to do this with one continuous piece of string than a bunch of shorter pieces.
Keep adding moss and wrapping string around it until the pole is mostly covered, but leave about a foot of the pole bare at the bottom. This will make staking it in your pot a lot easier!
Step 3: Stake the moss pole.
If you haven’t potted your plant yet, carefully dig a narrow hole in the monstera pot where you won’t disrupt the roots (if you have to do this toward the edge of the pot, that’s fine!).
Gently insert the unwrapped section of the pole into the hole and poke it down as far as possible so it will stand upright. You might need to pack down the soil or add a little potting mix to secure the pole.
If you haven’t potted your monstera yet, start by standing the pole up in the empty pot. You might need someone to do this for you. Then you can add the potting mix and your monstera plant.
That’s it!
Moss poles are cheap and simple to make, and your monstera will love having something to climb. This will encourage your monstera to grow up vertically instead of horizontally, so it will take up less room and make a striking statement in your home!
Alternative to Moss Poles
If you are looking for a prettier way for your monstera to climb, consider a trellis!
To learn more:
- Join us for our free Ultimate Monstera Webinar.
- To chat with other monstera plant owners, join our community on Facebook.
- Subscribe to our newsletter.
- Read our Ultimate Monstera Watering Guide here.
- Be sure to grab your essentials here: Monstera Plant Food, 3-in-1 Moisture Meter, Premium Potting Soil, Houseplant Leaf Armor (which protects your houseplant from bacteria, fungus, and insects—and also cleans and adds shine to its leaves!)
- Looking to shop for plants online? Our trusted partners at Houseplantshop.com grow high-quality plants here in California and ship directly to you. Shop online now!