
If you’re as in love with monstera plants as we are, you might have wondered how to grow Monstera deliciosa seedlings for one reason or another. Maybe you’re curious about growing plants from scratch and want to give it a try for the pure enjoyment of it. Or maybe you’ve balked at the price of a mature, well-established Monstera deliciosa and want to try a cheaper way to expand your plant collection.
Whatever your reason, growing Monstera deliciosa from seed is fun and pretty straightforward once you get your hands on some viable seeds.
Monstera deliciosa seeds come from the fruit this plant produces, which is commonly also known as the Mexican breadfruit. This fruit looks a bit like corn on the cob, and when it’s ripe, the outer scales fall off to reveal the pulpy flesh inside. The seeds hang out inside this flesh and can be picked right out and planted.
Whether you’re brand new to starting seeds or a seasoned pro, we’ll walk you through everything you need to know about how to grow Monstera deliciosa seedlings.
Table of Contents
How to Grow a Monstera From Seed
The good news is that Monstera deliciosa is actually pretty easy to germinate and grow from a seed! If you have experience growing plants from seed, this will be no problem for you. If you’ve never started seedlings before, this is a good plant to start with!
Why Use Seeds to Grow Monstera Deliciosa?
Plant owners usually grow monsteras from seeds for at least one of two reasons:
- It’s inexpensive. Starting seeds can take a little investment up front—especially if you shell out for grow lights, a heating mat, and a nice seed starting kit—but given the sometimes steep price of mature monstera plants, you can more than recoup your investment by producing just one healthy plant.
Since you’ll usually be buying and germinating several seeds at once, you can potentially produce several new monstera plants at once for very little money. Then you can give them as gifts or keep them all for yourself! You can also use the supplies for years and start all kinds of plants as seedlings, not just monsteras!
- It’s rewarding. Starting seeds and growing a plant from scratch is a lot like getting a dog as a tiny puppy. It can be immensely satisfying to nurture something from so early in its life.
If you’re a houseplant lover, you know how amazing it feels when one of your beloved plants produces a new leaf. Now multiply that feeling several times over. That’s how it feels to grow a healthy plant from a tiny seed!
If you love plants, the fulfillment of growing plants from seeds can’t be matched!
Where Can I Purchase Monstera Seeds?
Now that you know you want to grow a Monstera deliciosa from seed, how do you actually get the seeds?
While growing monsteras from seed is quite simple, actually finding viable seeds isn’t. Healthy, fresh Monstera deliciosa seeds can be tricky to find because they’re prone to rot, so they can’t be kept very long or shipped very far.
If at all possible, we recommend trying to buy Monstera deliciosa seeds from a local gardening store so you can see what you’re getting, as there’s no telling what you’ll end up with if you buy online. However, you might have better luck actually finding monstera seeds (or something labeled as monstera seeds) from online shops and growers.
If you do decide to buy from an online retailer, make sure to read reviews to ensure this seller has a good reputation and a history of selling viable seeds. If possible, choose a seller that’s close to home to cut down on shipping time. These seeds don’t last, so a few days can make all the difference.
We find that Etsy can be a good resource for houseplants, seeds, and cuttings, so that might be a great place to start your search!
No matter how you purchase them, expect to pay between 1 and 2 dollars per seed. If the price is a lot higher or lower, you might be getting scammed. Avoid buying in bulk (like 10 or more seeds in a bundle) because there’s a higher chance that these are non-viable, and may not even be monstera seeds. In most cases ,you can expect to buy in packs of 5-10 seeds, which is the perfect amount to start sprouting anyway in order to get a couple healthy plants!
And of course, if you happen to live in a tropical area where monsteras grow outdoors and produce fruit, you can just break open one of the fruits and pick the seeds right out of the pulp. It doesn’t get any fresher than that! (You can then make a delicious smoothie out of the fruit. But we digress.)
The important thing to remember is that you want your seeds as fresh as possible. Monstera deliciosa seeds should look like small, light greenish-brown beans with a wrinkled, almost paper-like texture, but they shouldn’t be hard and shriveled. Fresh seeds should have a tint of green or yellow. Very brown or dark seeds might be too old to germinate readily. If they’re super shriveled up, they might be too dry (but soaking may help).
Finding viable seeds can take a little research, but don’t give up!
Germinating Monstera Seeds
We recommend germinating several seeds at once. Some of the seeds might not work, so this will increase your chances of getting a healthy plant or two. And if several seeds happen to successfully germinate and grow, yay! Now you’ve got several baby monstera plants!
For best results, it’s a good idea to germinate the seeds within a week of getting them. If you have to wait, soaking the seeds can stave off decay for a few more days. You can store them in the fridge in a container with some damp sphagnum moss to keep them fresh for a little longer.
Here’s everything you need to know about germination, or encouraging a seed to sprout.
Soaking Method
Soaking before germinating is optional, but it does help soften the hardened outer layer of the seed, which can help it germinate and sprout more quickly. It can also delay rotting, so if you notice your seeds starting to decay, soaking is a good idea. Finally, soaking will rehydrate seeds that have dried out or gotten a little old, which increases your chances of successfully convincing them to germinate.
To soak your monstera seeds, simply fill a clean jar with lukewarm water (rainwater, distilled water, or purified water is best) and add the seeds. Let them sit for a day or two (24-48 hours) so they can soak up some water and get nice and hydrated.
Paper Towel Germination
You might remember this one from science class in elementary school. Also known as the Ziploc baggie method, this technique can be really fun because you can observe your seed in the different stages of growth! This is especially great if you have kids who will enjoy watching seeds grow.
This method also tends to be less messy than germinating in soil, and many plant owners swear that it speeds up the process. You’ll also get to see a lot more quickly whether your seeds are viable.
To sprout your seeds with this method, dampen a paper towel in lukewarm purified or distilled water (or rainwater, if you can get it) and fold a few soaked (or at least dampened) monstera seeds up inside it, leaving at least an inch of space between seeds.
Then slide the whole bundle in a zippered sandwich bag, seal it up, and leave it in a warm place. Within a few weeks, you should see sprouts!
How Long Do Monstera Seeds Take to Germinate?
With ideal conditions, germination can take anywhere from 10 days to a month. Be patient!
If you’ve germinated in soil and haven’t noticed any sprouts within a month, you can dig up the seeds to see if they’re starting to sprout. If they’re sprouting but they’re just taking their time, go ahead and rebury them—sprout facing up, of course—and keep doing what you’ve been doing. If the seeds don’t appear to be doing anything or are just rotting, toss them and try again with another batch. It happens!
Caring for Monstera Seedlings
The way you care for monstera seedlings will make all the difference in whether your seeds will grow into healthy plants. Seedlings need more moisture, humidity, and heat than mature plants, so those are the things you’ll want to pay special attention to while they’re growing.
With that in mind, let’s talk about care and supplies!
Best Soil & Containers
If you’re starting your seeds in a potting medium and not a paper towel, you’ll want to use small containers with drainage holes. Three- to 4-inch plastic nursery pots work well. Plastic cups, like the little ones you buy for the bathroom, are also great, as are any other small containers you have lying around, like yogurt cups, containers from cream cheese or margarine, etc. Plastic works especially well because it retains moisture better than ceramic or terra cotta. Just use a knife to carefully make a few drainage holes in the bottom of the container.
Alternatively, you can plant more seeds in a wider container instead of individually planting in little containers. Just make sure to space them a few inches apart!
It’s best if your container isn’t more than a couple of inches deep as well. This will prevent the pot from hanging on to too much moisture and encourage fungal growth.
As you can see, this is all about balancing moisture retention and drainage!
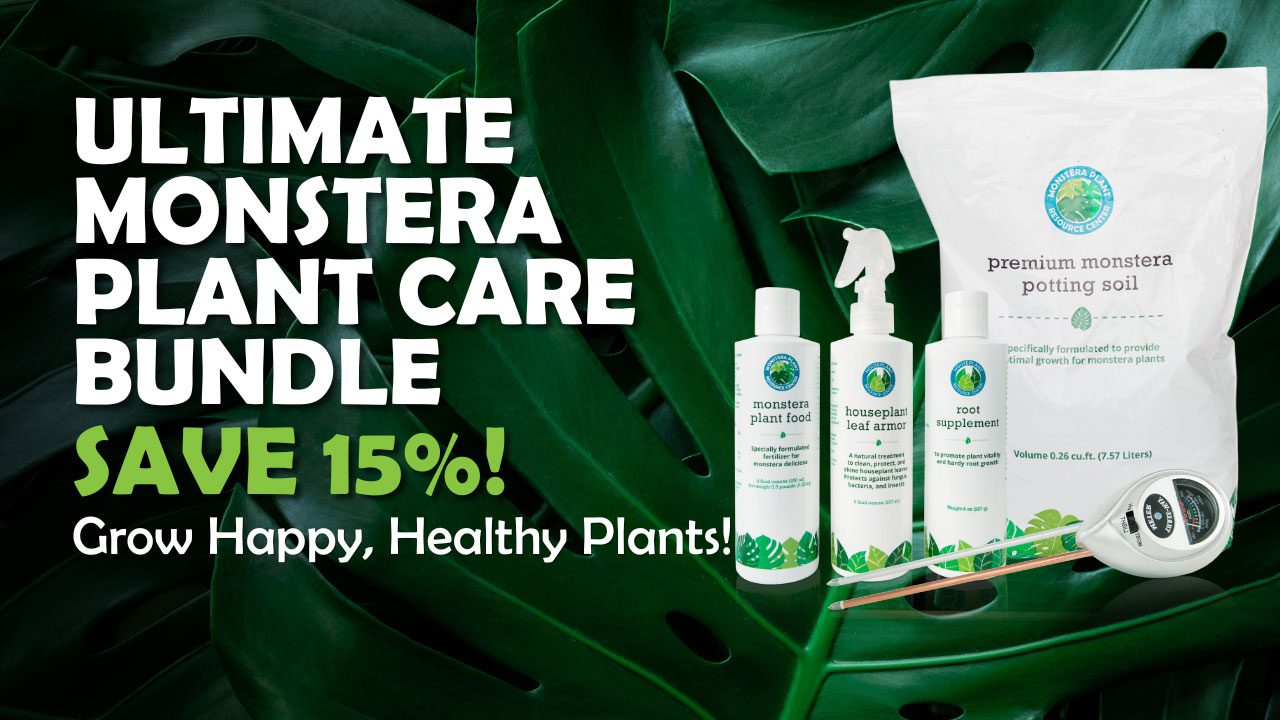
As for potting medium, you want something that will retain a little more moisture than a soil you’d use for a mature monstera plant. A peaty potting mix is a perfect seed starter. Our Premium Monstera Potting Mix with a little extra peat moss is a great option, and we also love this aroid soil from Kaylee Ellen on YouTube (though for germinating seeds, an additional handful or two of peat or sphagnum moss can be really helpful for a little more moisture retention).
To start your seeds, fill your container about ⅔ of the way full of your potting mix. Put the seeds on top. If any seeds already have a sprout, make sure to plant sprouts side up. Cover the seeds with more soil so that the pot is mostly full, with about a half inch of headroom at the top. Keep the potting mix nice and loose rather than packing it down.
Then use a plastic container lid, Ziploc bag, or plastic wrap to loosely cover the top of the pot. This will increase the humidity around your seeds and soil, which can help them sprout and grow healthy leaves.
Moisture
Monstera seeds need a moist, humid environment to germinate, so it’s important to keep your soil evenly damp, but not soggy.
Covering the container with plastic should help with humidity, but be sure to check the soil frequently and rewet with a spray bottle (or regular watering) when it starts to feel dry. Make sure to use distilled, purified, or rainwater that’s lukewarm or room temperature at the coldest so you don’t shock your seeds with a blast of cold water!
A good way to tell if the humidity is high enough is if you see condensation on the inside of the plastic—then you know your seeds are nice and steamy!
However, with high humidity comes an increased risk of fungal growth, so you do want to check fairly frequently to make sure there’s no mold in the soil or container. If you see mold or other signs of fungal growth, switch out the soil, clean out the container, and gently rinse the seed with lukewarm water before replanting in a fresh potting mix.
Once the seeds germinate and you see sprouts, you can uncover them for an hour or two every day to air them out, gradually increasing the length of time to a few hours. This will help acclimate them to their environment as they grow.
Temperature
It’s important to keep your seeds nice and warm—between 70-80 degrees Fahrenheit—so they’ll germinate. You can purchase heating mats online or in gardening centers, which are an easy option for keeping your baby seedlings toasty. It also helps to germinate seeds in the spring or summer when temperatures tend to be warmer. This is also when plants tend to grow anyway, so you might have the best luck during these warmer months.
What you definitely DON’T want to do is set your seeds up next to a heating vent or blast a space heater on them, because this can dry out the soil too quickly. Humidity is just important as heat!
Light
While the seeds are germinating, they will need some indirect sunlight, but not as much as you’d provide for a mature monstera. Try placing your seeds near a window where it will get some light, but no direct sun.
When the seeds sprout and start to grow leaves, the plant will need more sunlight to convert into energy through photosynthesis, so you may want to move your little sprout to a brighter spot.
Grow lights can also work really well for providing your seedlings with the perfect amount of light. We really like these full-spectrum bulbs that you can screw into regular lighting fixtures. Your other houseplants will love them as well!
Transplanting Monstera Seedlings
When your baby monstera plants start to grow leaves, the plant is ready to move into a new pot with fresh potting mix (if it’s been in a temporary container).
If you germinated your seeds in a small pot, you can simply leave the plant in that container until it’s big enough to need repotting.
It’s also important to note that some seedlings might not survive the transplanting process. Remember, even mature monsteras can go into shock when you repot them or make dramatic changes to their environment, and delicate little seedlings are no different. So if you lose a few, don’t feel bad! You didn’t do anything wrong.
To transplant a seedling, add some peaty, well-draining soil like Monstera Potting Soil to a 3- to 4-inch pot that has drainage holes. Poke your finger into the soil to make a small hole that’s a few inches deep. Carefully remove your seedling from its current container and place it in the hole with the sprout sticking out of the soil.
Bury the seed and water thoroughly. Add a little more soil to the top to account for setting if necessary. Then place your little plant in a place where it will get lots of bright, indirect sunlight and care for it like you would a mature Monstera deliciosa.
Using Peat Pods in a Mini Greenhouse
Seed starting kits can be an easy and convenient way to start your monstera seeds. We like using peat pods or pellets in a plastic container, or “mini-greenhouse.. This is an easy setup that allows you to germinate a lot of seeds at once in a nice humid environment.
You can purchase these peat pods from a few different companies. These cool little peat pods are exactly what they sound like: tightly wadded bundles of peat moss. You can plant your seeds right inside them after watering them, fluffing them a little, and setting them up inside the mini greenhouse. They retain moisture beautifully without staying soaked for too long, and provide a great environment for your seeds while they’re germinating.
Once the seeds have sprouted, you can transfer them to pots with a regular potting mix. You can also reuse these peat pods with new seeds, so they can be a great investment if you plan on starting a lot of plants from seed!
Planting Directly Into Pots
If you don’t want to start your seeds in a baggie with a paper towel or in a plastic container, you can germinate them in the same pot you plan to leave them in for a while.
To do this, choose a small pot (3-4 inches) with drainage and fill it ⅔ of the way full of a peaty potting mix. Place a soaked or damped seed on top and add a little more soil on top, taking care to leave an inch to a half inch of headroom. Water thoroughly and place a plastic bag or plastic wrap over the top of the pot to increase humidity. Keep the soil damp and put the pot in a warm place with some indirect light. Within 3 or 4 weeks, you should see a little sprout popping out of the soil! (If you don’t see anything after a month, dig up the seeds to investigate. If it’s sprouting at all, rebury it and give it some more time.)
When your new sprout grows leaves, simply leave the plant in its pot and move it to a brighter place!
FAQ: How to Grow Monstera Deliciosa Seedlings
Can I grow variegated Monstera seedlings?
Bad news: you can’t grow a variegated monstera from a seed—at least not on purpose—because variegated monstera seeds don’t actually exist. Variegation is a recessive trait, so even a seed from a highly variegated monstera might not produce a variegated plant. On top of that, even a cutting from a variegated monstera plant might not necessarily produce variegations on the new leaves.
This is why variegated monsteras are so expensive and so hard to find. They’re difficult to produce, and once you’ve got one, they’re challenging to keep alive!
If you’re dying for a variegated monstera, you’re much better off shelling out for a mature plant or taking your chances on a cutting (though, keep in mind that a plant grown from a cutting won’t always be variegated).
If you see seeds advertised as variegated monstera seeds, don’t fall for it. This is a scam and won’t be worth your money.
Final Thoughts Monstera Seedlings
Growing monsteras from seedlings can be a lot of fun and very fulfilling. It’s also a great way to save money if you just can’t bring yourself to pay top dollar for a mature monstera with lots of large, fenestrated leaves.
However, keep in mind that it takes years for most Monstera deliciosa plants to start producing leaves with fenestrations. For the first 1-3 years, your leaves will mostly be smaller and heart-shaped, which is still beautiful! But getting that big, beautiful, impressive Monstera deliciosa that takes over half your living room takes a long time.
If you have the patience, you can absolutely achieve this from seed. Imagine admiring your 10-year-old monstera down the road and remembering how it felt to see your little seed sprout way back when! If this sounds great to you, we highly recommend growing your monsteras from seed.
Baby monstera plants also make great gifts, and knowing you started those plants from seed makes them that much more meaningful!
We have all the information and resources you need to raise healthy and beautiful monstera plants. With a little know-how and a few key supplies, you’ll become a master monstera grower in no time!
Join in on the conversation about growing monsteras from seedlings inside our thriving Facebook Group!