
Monstera propagation is a great way to grow your monstera collection, clone your favorite monstera, or to create more monsteras to give away as gifts!
You can propagate your monstera with several different methods, but one of the most successful ones is air layering.
Air layering is a process that forces the plant to grow aerial roots before you actually take a cutting. That way, your cutting is ready to be planted right away instead of spending weeks or months in water to root.
How does air layering compare to other methods such as cutting or separating?
Advantages of Monstera Propagation Via Air Layering:
- Air layering may have a better success rate because the risk of shock and infect is lower.
- Air layering is easy!
- With air layering, you don’t need an intermediary vessel for rooting as you do with cutting because rooting takes place on the parent plant.
Disadvantage:
- Your plant will have a wad of moss and plastic wrap on it for a few months, which isn’t exactly attractive. But it’s easy to hide with other leaves and by creatively arranging the plant!
So how do you air layer a monstera? It’s really simple!
Monstera Propagation Via Air Layering
Step 1: Gather your supplies.
You’ll need:
- Sphagnum moss
- Plastic wrap
- String, twist ties, or twine
- A spray bottle filled with clean or even distilled water
Step 2: Figure out where you’re eventually going to take your cutting.
To do this, locate a node on the plant. A node on a monstera looks like a tiny little bump below a leaf or stem. Eventually, this node will turn into aerial roots.
Find a node right below the stem you’ll want to propagate. Then use a sharp, clean knife or pruning shears to make a small cut near the node. This will prompt the plant to direct energy to that area and grow new roots!
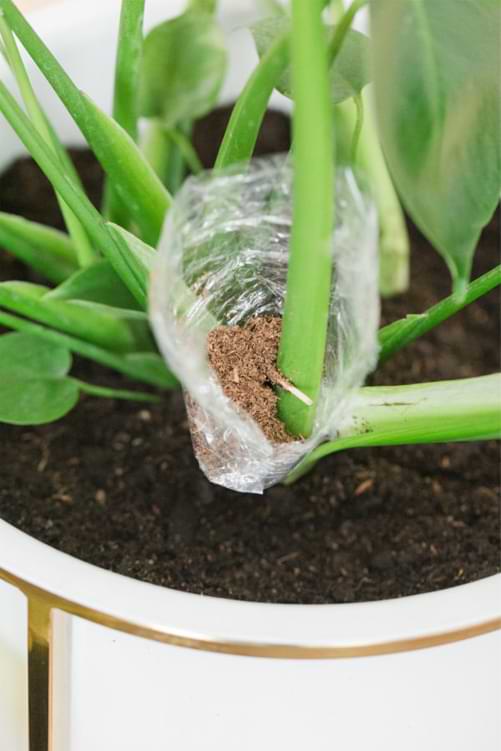
Step 3: Wrap it up.
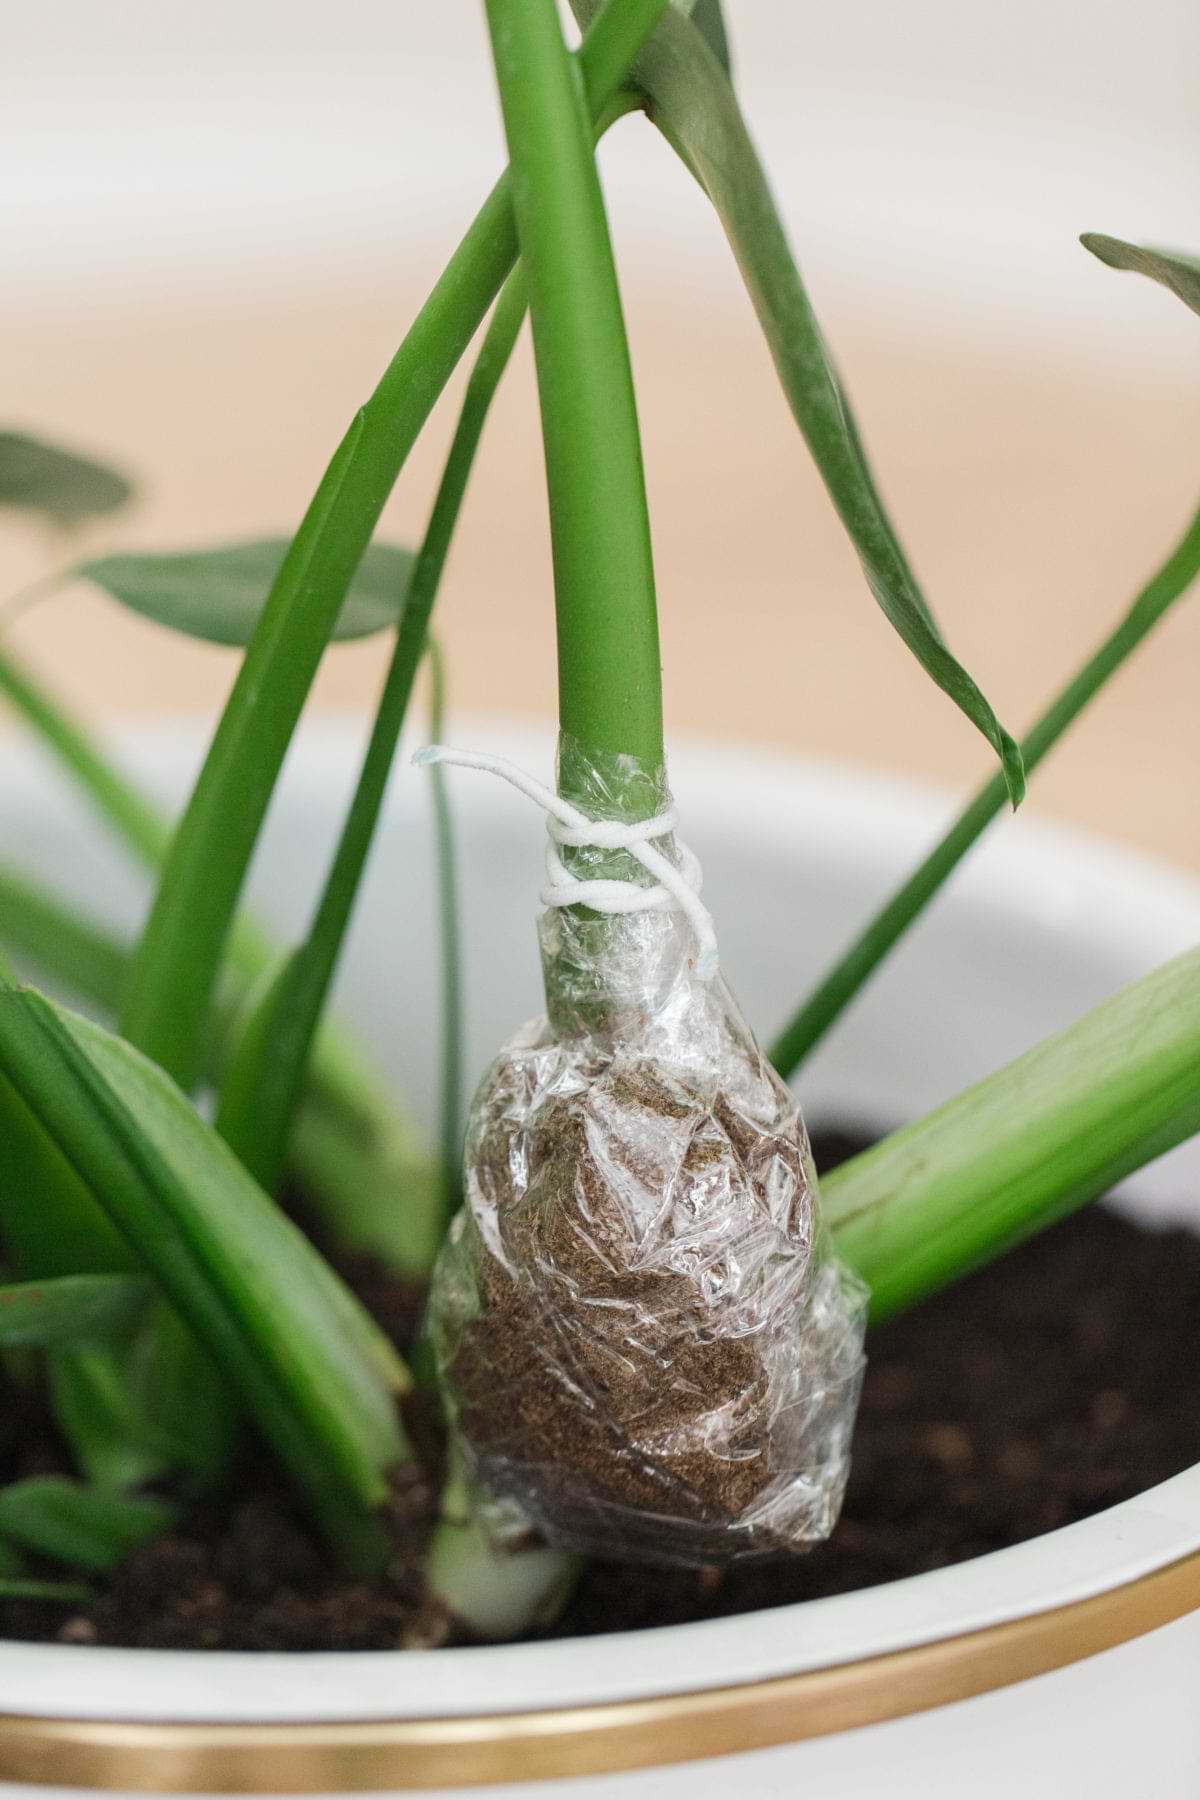
Wrap the whole area, including the cut and the node, in damp sphagnum moss (wet the moss with clean water and wring out the excess). Wrap the twist ties, string, or twine around the wad of moss to secure it to the plant.
Then wrap the entire clump of moss in plastic wrap and secure it with more string. Make sure you don’t wrap it up too tightly. You want the moss to stay damp, but you don’t want to completely restrict airflow. That’s how you wind up with mold!
Step 4: Keep it damp.
Every few days, remove the plastic wrap and spray the moss bundle with clean, preferably distilled water to keep it nice and damp. Then rewrap it and wait!
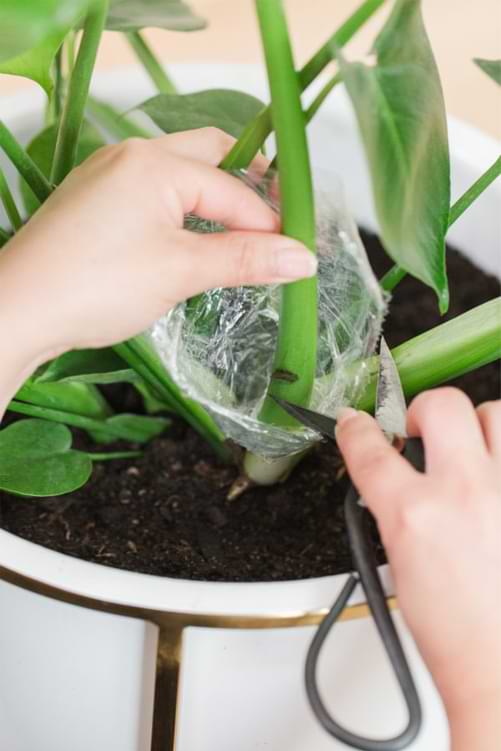
Step 5: Plant your cutting.
You should start to see new aerial roots growing in that area in a few months! When the roots are at least an inch long, remove the moss and plastic and use clean shears to remove the stem from the plant, making sure to include the node and the new aerial roots on your cutting.
Then you can plant the cutting right into a new pot!
Make sure to use a pot with good drainage and peaty soil. Put the plant in an area that gets plenty of bright, indirect sunlight.
Give it a good watering and start using Monstera Plant Food fertilizer in about a month.

Add your new plant to your monstera collection or give it away to a friend!
Within a few months, the new monstera should start to grow and form new, beautiful leaves.
Propagation is like a houseplant cheat code! For more monstera propagation methods, check out our ultimate guide on propagating monsteras!
To learn more:
- Sign up for our free Ultimate Monstera Webinar.
- Subscribe to our newsletter.
- Click to join our community on Facebook: Monstera Plant Resource Group.
- Read our Ultimate Monstera Watering Guide here.
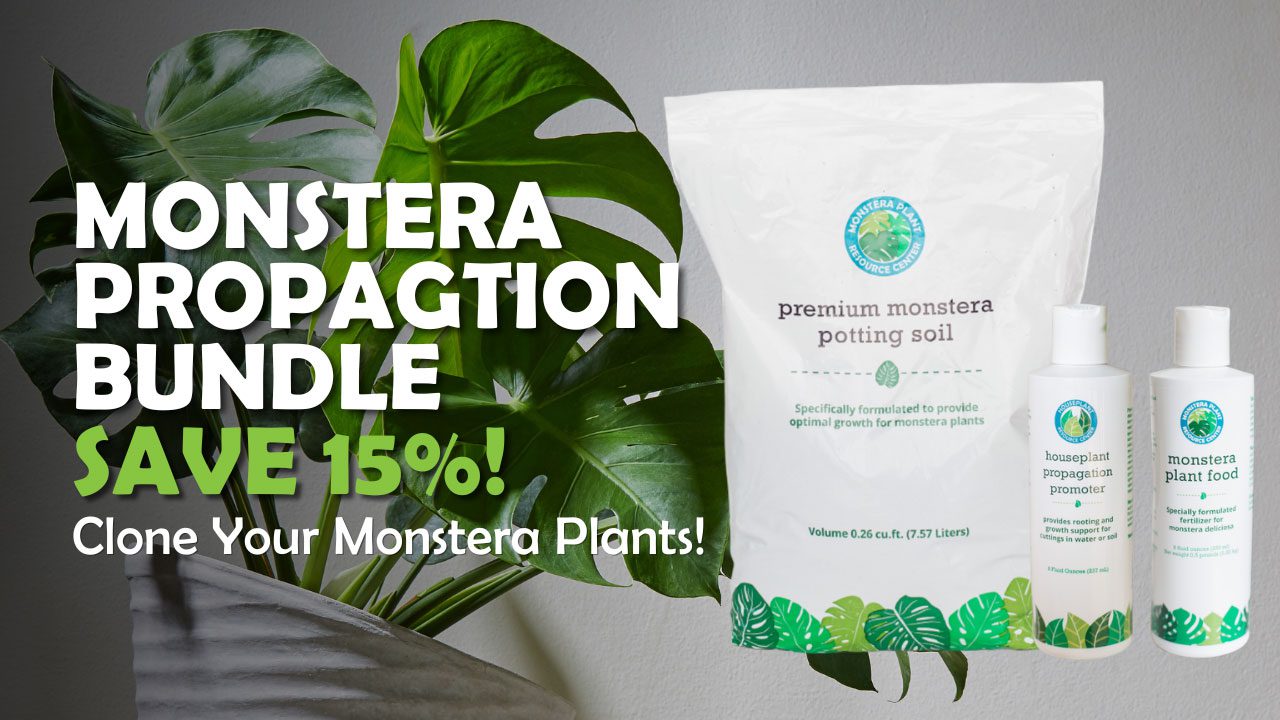
- Be sure to grab your essentials here: Houseplant Propagation Promoter, Monstera Plant Food, 3-in-1 Moisture Meter, Premium Potting Soil, Houseplant Leaf Armor (which protects your houseplant from bacteria, fungus, and insects—and also cleans and adds shine to its leaves!)
- Looking to shop for plants online? Our trusted partners at Houseplantshop.com grow high-quality plants here in California and ship directly to you. Shop online now!