
Variegated Monstera Albo, a beautiful and sought-after plant, can be difficult to find in the market due to its limited availability.
This rarity has led to heightened interest in propagation – a process that allows you to create new plants from an existing one.
However, propagating successfully will require a careful hand, attention to detail, the right tools, and a bit of patience.
In this comprehensive guide, we’ll cover everything you need to know about propagating Variegated Monstera Albo, including the propagation materials you’ll need and a step-by-step guide on how to do it.
Table of Contents
Before You Begin The Propagation Process
Ensure the parent plant a cutting comes from is healthy and free of pests or diseases, as propagating a diseased plant will only spread this issue further.
Additionally, prepare the space where you’ll keep the cuttings before you begin the propagation process. 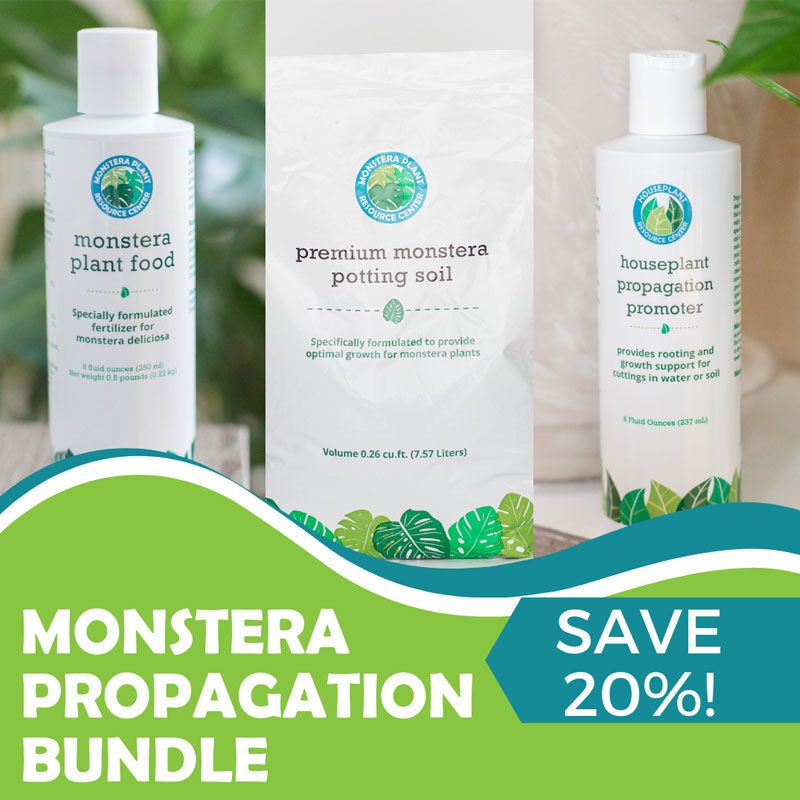
The area requires good airflow, no direct sunlight, and a consistent temperature between 70-80°F (21-27°C).
You’ll also need a few tools on hand throughout the process to avoid overhandling, which can cause damage to the plant. Recommended tools include:
- sharp houseplant scissors
- a clean pot(s)
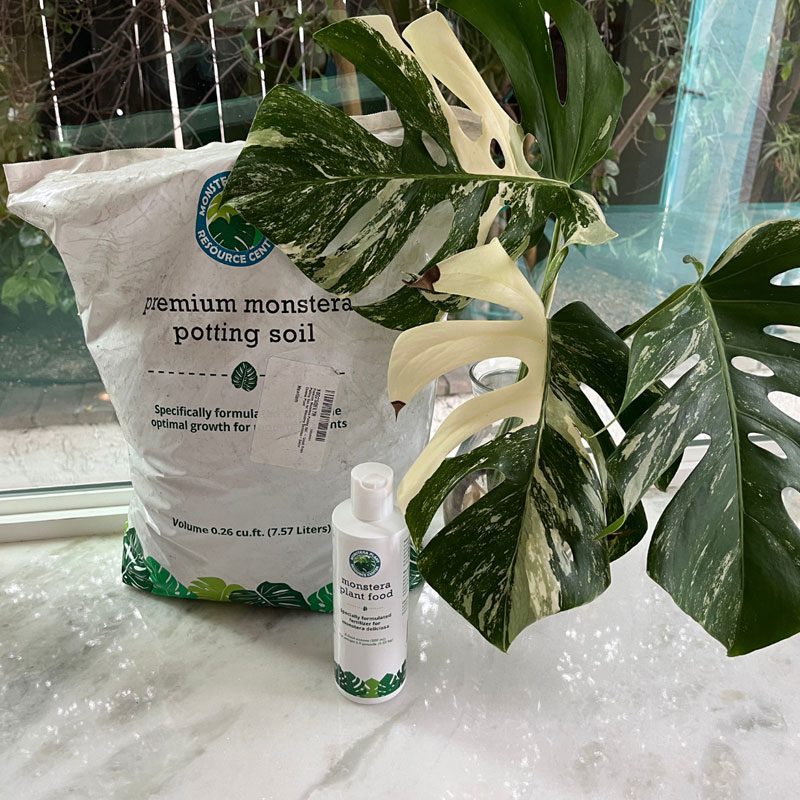
- premium Monstera potting soil
- a glass vase (water method)
- soilless potting mix (soil method)
You may also want a magnifying glass to easily identify nodes, root development, and other potential problems.
Step-By-Step Guide To Propagating Variegated Monstera Albo in Water or Soil
There are two methods to propagate Monstera albo: water and soil. While their processes vary, both will require the same two steps to start.
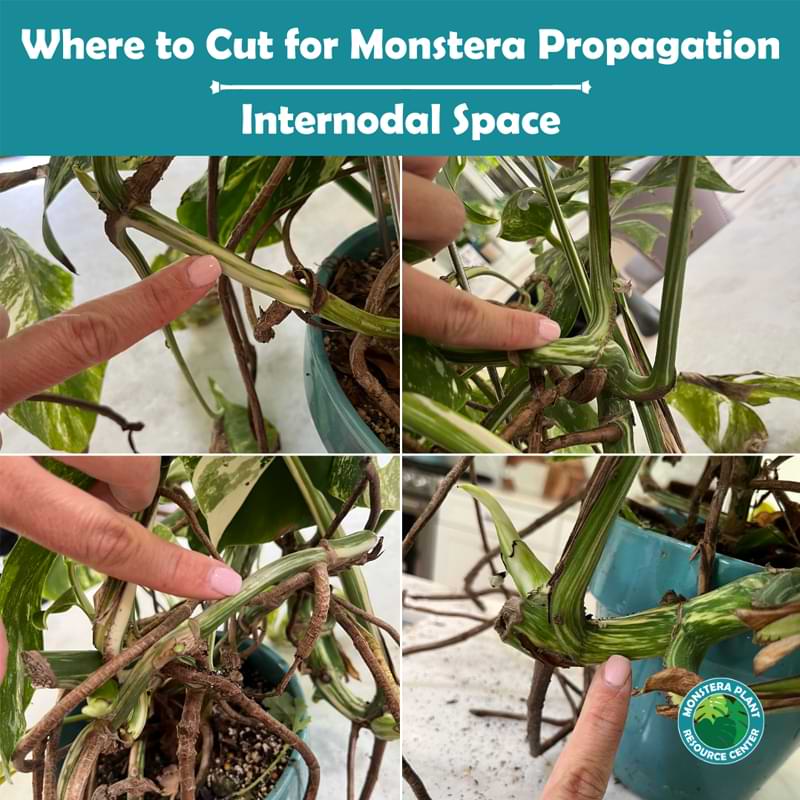
Step 1: Locate the Node on the Stem
All houseplants have nodes – points on the stem from which a leaf or root can sprout.
Identifying these nodes is easy with variegated Monstera Albo as the plant features noticeable, raised, and sometimes brown bumps that indicate a node position.
Look towards the bottom two-thirds of the plant if you have trouble finding nodes. This is the most common area they appear and the best to propagate Monstera albo.
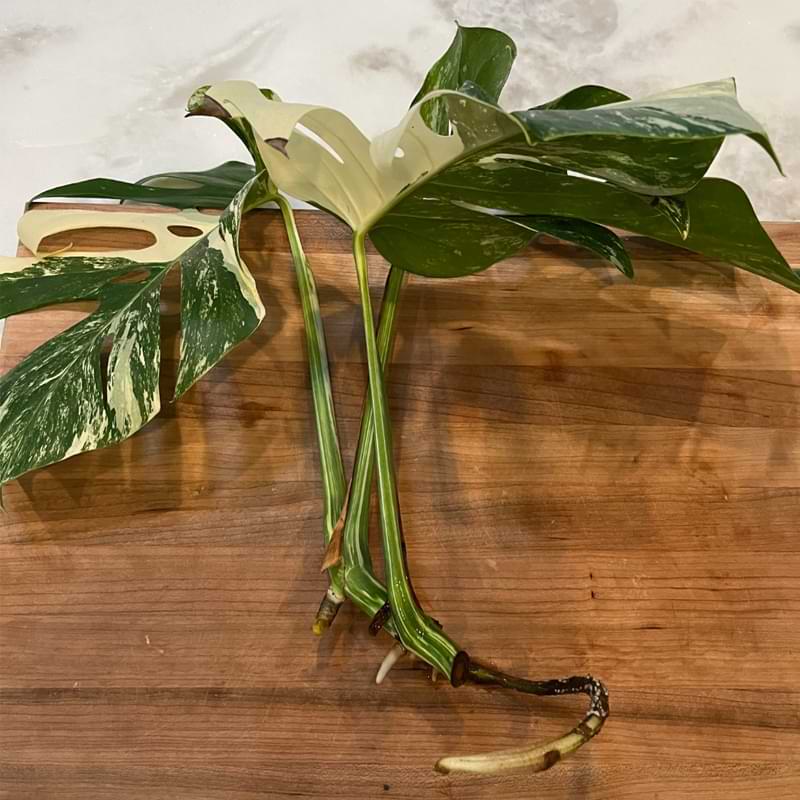
Step Two: Take a Cutting
Once you’ve located the nodes, it’s time to take a cutting. Make the cut approximately two inches below the node quickly and cleanly with your cutting tool.
Aim for a cutting that is 4-6 inches long as any shorter won’t have enough stem for rooting; any longer can be difficult to balance in a pot or vase.
Pro Tip: When cutting, angle your houseplant scissors or knife at a 45-degree angle towards the node, as this provides more surface area for water absorption and healthy root growth.
Step Three: Promote Root Growth
Once you have your cutting, it’s time to choose a method that will promote healthy root growth and, in turn, a healthy new plant.
Pro Tip: Let your cuttings air dry for about 10 to 20 minutes before starting either method to limit the chances of them rotting in the soil.
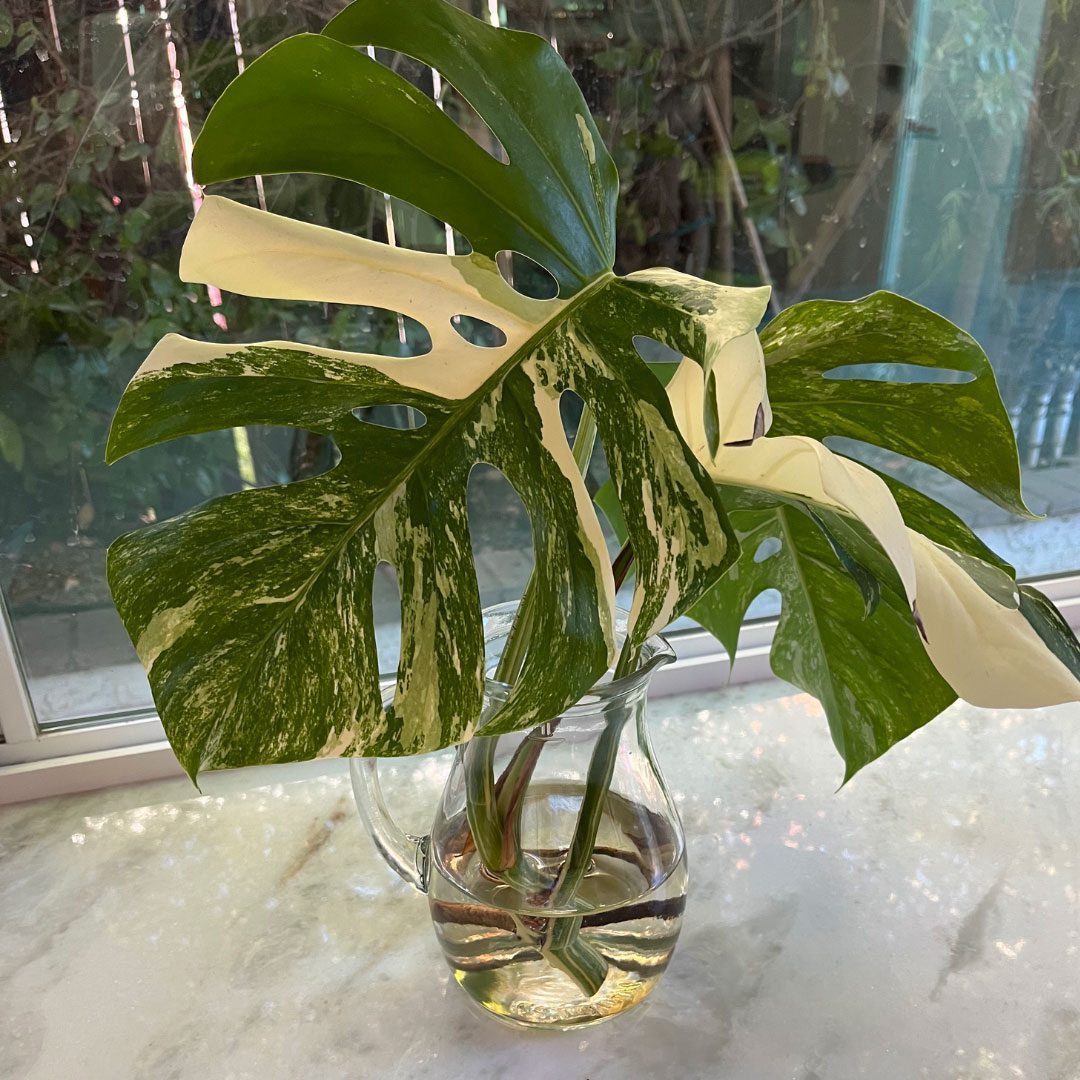
The Water Method
This method is a quick, easy way to propagate Monster albo, offering quick results and relatively low maintenance.
Start by placing your cutting in a clear glass vase, preferably one with a tall, broad design that allows for the expansion of roots and plenty of airflow.
Then, fill it with filtered water about 2 or 3 inches above the node.
Place the glass jar in your pre-prepared space with indirect sunlight and change the water every few days or as needed.
The Soil Method
Soil propagation reduces the risk of plant stress when transferring rooted cuttings from water into the soil.
This method does have a few more steps but can yield a larger and healthier plant, especially when cuttings have long stems or many leaves.
Start by filling your clean pot with a soilless potting mix. This mix holds moisture without causing root rot and provides better air circulation for root growth.
After you’ve filled the pot, create a hole for your cutting using your fingers or a trowel. The hole should be about 2 to 4 inches deep, depending on the length of your cutting.
Finally, place the cutting in the hole and cover it slightly with soilless potting mix at a level that allows it to stand on its own.
Keep the soilless potting mix wet but not soggy, and provide the same environmental conditions as you would with cuttings from the water method.
Step 4: Observation & Support
In either method, careful observation, minor supportive care, and patience are essential for successfully propagating variegated Monstera albo.
The goal is to wait until 5 or more lengthy roots several inches long grow from the base of the cutting, which can take anywhere from six to eight weeks in water and up to four months in soil, depending on where or not you use a houseplant propagation promoter.
During that time, it will be essential to maintain consistent environmental conditions, which include indirect light, moderate levels of humidity, and consistent room temperatures.
If you are doing the water method, regularly top up the vase with fresh water and discard any time the water exhibits cloudy, yellow, or odorous notes.
Keeping the potting mix damp but not soggy will be critical if you use the soil method. This is best done with a spray bottle or by placing the pot in a tray of water, allowing it to absorb the moisture up from below.
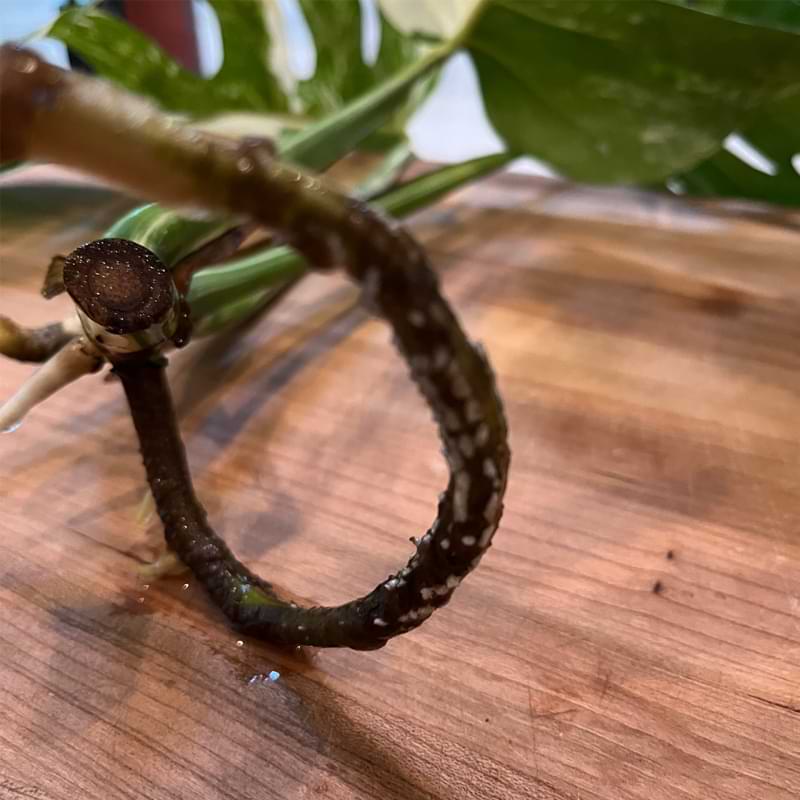
Regularly check the roots for signs of rot, as this can quickly spread throughout the plant and cause it to die.
If you spot the black, moldy signs of root rot, carefully remove the affected area with a sterile blade and move your cutting to a new pot with fresh potting mix or water.
You can tell that your observation and maintenance are paying off if the roots consistently appear yellow, white, light green, or light brown. Additionally, they should appear long and firm, not slimy or mushy.
Pro Tip: The soil method doesn’t allow for easy observation like the water method does. So, when examining the current root development, gently brush away the potting mix in the same way a paleontologist would excavate a fossil.
Step 5: Planting Rooted Monstera Albo Cuttings
With healthy cuttings exhibiting a strong root structure of at least 5 tendrils several inches long, you can begin the next step of the propagation process: transferring them to their new home.
It is wise to get all your planting materials ready before you attempt this step. Pots should be clean, slightly larger than the grouping of roots, and have drainage holes drilled in the base.
You may also want to put a bit of monstera plant soil in the bottom of the pot in preparation for the new cuttings to save time and prevent any accidental root damage.
Use soil that is well draining and, ideally, made from equal parts of coco coir, coco peat, perlite, orchid bark, and IBI-certified Biochar. These particulates offer light and airy textures, which are necessary for the successful continued growth of any plant.
For cuttings obtained through the water method, carefully move them around in the vase to loosen and release roots from the sides of the jar. Then, gently use your fingertips to loosen gnarled or intertwined roots.
If you have used the soil method, gently brush away the top layers of potting mix until the roots are visible. From here, use your fingers to gently lift and massage away the potting mix from around and within the root system.
Once free from their original vessels, it is time to transfer the matured cuttings into the new pot.
Place the matured cutting into the center of the prefilled pot, surround it with soil until it reaches an inch or two below the rim, and then lightly press down the topsoil to ensure that it is not too loose.
Tips to Ensure Success
- Aim for springtime propagation. The best time to propagate Monstera albo occurs between March and May when it comes out of dormancy and enters its most potent growth cycle.
- Only use nodes as cuttings. Only nodes, not leaves or other parts of the plant, have enough energy to create new roots and leaves. If no nodes are present, put the mother plant in a sunny location and provide it with Monstera plant food for a couple of weeks until they appear.
- Propagate in similar conditions as your main plant. Plants become accustomed to their specific environment, so matching the newly propagated plant to its parent will help the cuttings better succeed.
- Monitor stress levels after transplanting. The newly transplanted cutting may exhibit alarming yet entirely common signs of transplant shock, such as drooping and yellowing leaves. Support a healthy transition with the help of phosphorus-rich root supplements.
Propagate Monstera Albo At Home
Propagating variegated Monstera albo at home is a fun and easy way to expand your collection of this unique and rare plant.
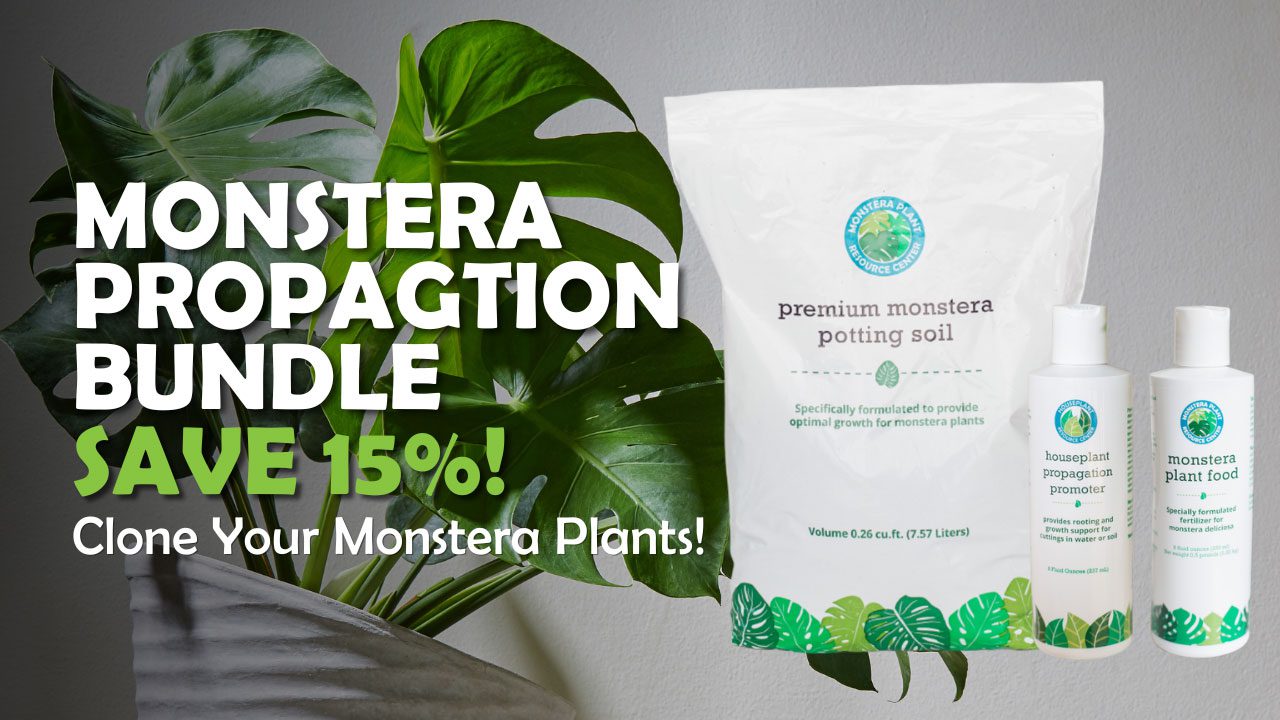
Follow the five steps outlined in this guide – preparing, cutting, rooting, support, planting – and you’ll be well on your way to growing a healthy and vibrant houseplant in no time. Utilizing our Monstera Propagation Bundle will make cloning your plants easy!
Want to learn more? Register for our webinar for even more advice on how to grow Monstera albo at home.