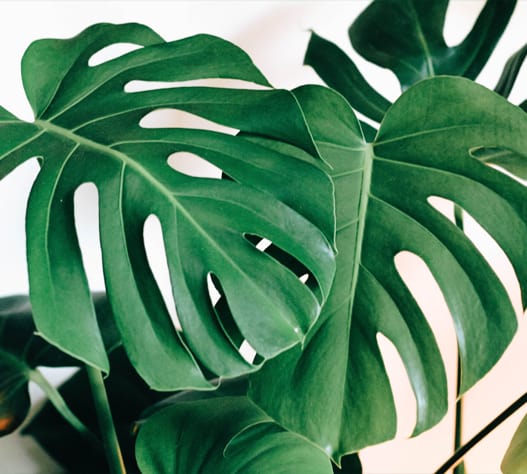

Monsteras are a very popular houseplant, and many people love to fill their homes with this beautiful plant. Their popularity has significantly increased over the years because of their big, unique foliage and how easy they are to care for.
If you want to add more monsteras to your home, you can do so very easily by simply propagating one you currently have, or propagating one from a friend! Keep reading to learn how to easily propagate your monstera and fill your home with this beautiful plant!
Table of Contents
How To Propagate Monstera In Water
Propagating a monstera is simple, and there are a few ways to do it. The easiest and most commonly used method is by propagating in water. But before you get started, you’ll need to gather some tools.
Tools and Equipment Needed When Propagating
In order to propagate your Monstera in water, you will need the following tools and equipment:
- Clean, sharp pruning shears
- A clear glass jar or vase
- Fresh, filtered water
You should also consider having a high quality rooting hormone to give your cutting the best chance of growing new roots.
That is everything you need to get started with your water propagation!
Once your cutting has sprouted some roots, you will need to transplant it to a pot with well-draining monstera potting soil, so keep that in mind when gathering your supplies.
Propagating Monstera In Water
To propagate your monstera, simply follow this easy guide, and you’ll be on your way to more monstera plants very quickly!
1) Prepare Equipment And Workspace
Before you begin, it’s important to have all the supplies you’ll need on hand for propagating Monstera in water. Once you have your supplies gathered, find a clean workspace to set up your propagation station. If you’re using a jar or vase, make sure it’s clean and empty. Fill the jar or vase with fresh water and set it within easy reach.
2) Take A Stem Cutting
To take a stem cutting, first choose a healthy stem that is at least 6 inches long with at least a couple good-looking leaves on it. Cut the stem at an angle just below a node (the bump where leaves attach to the stem). If your plant is growing an aerial root right at the node you plan to cut at, you will want to remove the aerial root as gently as you can. They are not designed to absorb as much moisture as ground roots, and therefore may rot before your cutting has a chance to grow its own new root system.
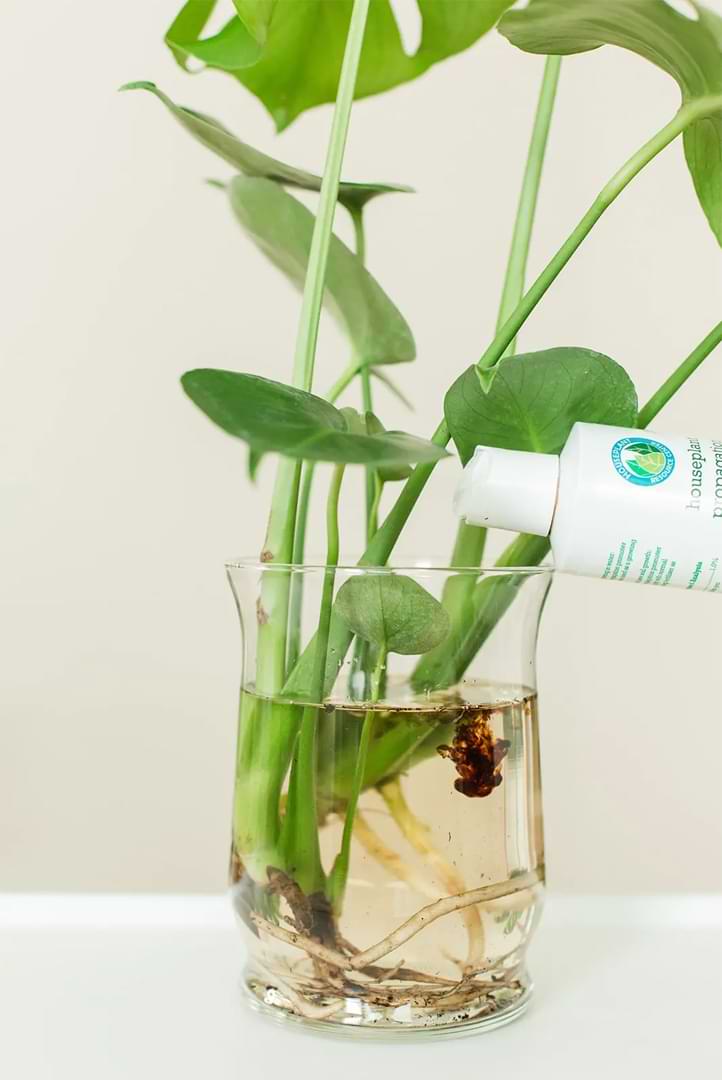
3) Rooting In Water
From here, the rooting process will happen in your jar or vase filled with filtered water. You’ll simply dip the end of your cutting in rooting hormone, and place it in the jar of water.
Some people prefer to prop the stem up so it isn’t resting at the bottom of the jar, and to do this, take several rubber bands and secure them around the jar, running from top to bottom. Make sure to place them in a way that does not inhibit the stability of the vase. Adjust the rubber bands so they make a square or triangular shape at the opening of the vase, and place the stem in that opening, adjusting the rubber bands to hold the stem in place.
This step is not necessary, but it can be beneficial to allow the whole cut end of the stem to receive as much water as it needs.
Make sure to change the water every 2-3 days to prevent any bacterial growth from harming your new cutting. You can reapply the rooting hormone every time you change the water, but you don’t have to.
Once roots have developed and are about 2-3 inches long, you can then transplant the cutting into a well draining potting mix, and care for it as you would your existing monstera plant.
Other Ways To Propagate Monstera
There are a couple other ways to propagate monstera plants, including propagating straight into soil and air layering. Each of these methods are simple, and they have their own benefits and drawbacks. Houseplant enthusiasts are divided on which method is best since they all work reasonably well, so try each of them, and see which one works best for you!
In Soil
Propagating in soil is very similar to propagating in water. The only difference is you are planting the stem (after dipping in rooting hormone) directly into the soil instead of putting in a jar of water. With this method, you have to make sure that the soil remains moist until you begin to see new growth, and then only water your new plant after the first inch of soil has dried.
This method has a rather high success rate, although your cutting may be susceptible to mold or fungus growth in the soil, which is why it’s important to use fresh, high quality monstera potting mix for your propagation.
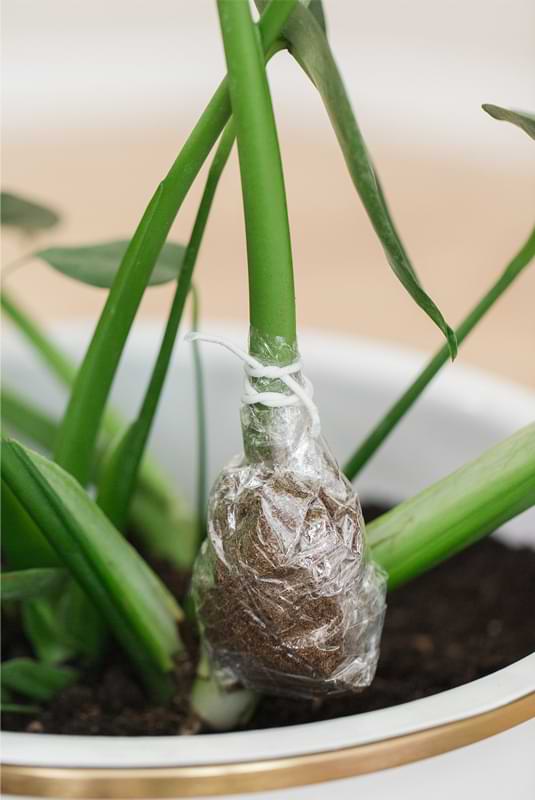
Air Layering
Air layering is a propagation method that can be used on many different types of plants. To air layer your monstera to create a new plant, you don’t take a cutting at first. If you want to try air layering, follow these steps:
- Locate a growth node on your plant’s stem
- Surround the stem and growth node in moist sphagnum moss
- Secure the sphagnum moss with plastic wrap, without wrapping it too tightly around the stem.
Within a few weeks, you should be able to see some new roots poking through the sphagnum moss, and at this point it is safe to cut the stem below the sphagnum moss you put on the plant, remove the plastic wrap, and plant it in a pot with well-draining monstera soil. No need to remove the sphagnum moss before planting it.
How Long Can A Monstera Cutting Live In Water
Technically, a monstera cutting can live in the water indefinitely. As long as the water is kept clean, your monstera plant can continue to grow in the water with no problem. Many times, though, a monstera’s roots will begin to rot in the water from having so much moisture surrounding them, so use caution when deciding whether to leave your monstera cutting in water.
Caring for Monstera After Propagating
Once you have successfully propagated your Monstera in water, it is important to know how to properly care for it. The first few months after propagation are crucial for your plant to gain strength and stability so it can continue to grow and thrive.
Light And Position
Your monstera will need a bright spot that gets indirect sunlight or filtered sunlight throughout the day. Right after propagation, it’s a good idea to give it just a few hours of indirect sunlight every day, and slowly move up to giving it the full 10-12 hours of indirect sunlight week by week.
Finding the right spot for your monstera in your home can be hard to do, but if you have a north or south facing window, you should start there. These windows will get a lot of natural light throughout the day without getting too much direct sunlight. If you only have really sunny windows in your home, consider hanging a sheer curtain over the window to filter the sunlight so your plant doesn’t get scorched.
If your home doesn’t get enough natural sunlight, you may need to supplement your plant’s lighting with some grow lights. It’s critical for your plant’s health that it gets all of the natural filtered sunlight it needs, otherwise your newly propagated plant may not grow to its full potential.
Temperature & Humidity
The ideal temperature for propagating monstera is 70-85 degrees Fahrenheit. If the temperature is too low, the propagation process will take longer. If the temperature is too high, the leaves may turn yellow and the stem, leaves, or roots may rot. The ideal humidity for propagating monstera is 50-60%.
Maintaining this temperature and humidity throughout your plant’s life will allow your plant to start its life strong and stable. Adjust your plant’s environment to match these levels as closely as possible with the use of gentle fans, space heaters, or humidifiers.
Soil Type
Soil is one of the most important factors when it comes to the care of your monstera plant. A heavy soil will hold way too much moisture, and a light soil will drain before your plant can get the water it needs. This is why you should always plant your monstera in a potting mix that is specific for monstera plants. Aim for a mix that includes mostly orchid bark and coco coir, with some perlite, activated charcoal, and regular soil as well.
Giving this high quality soil to your cuttings from day one will ensure your plant grows strong and thrives in your home.
Watering
Make sure to water your newly propagated plant regularly, keeping the soil evenly moist after you’ve transplanted it (if you propagated in water). For a few weeks, your plant will need soil that is consistently moist. Once your new plant is a few weeks old, you’ll want to back off the watering, only giving it more water when the first inch or two of soil has dried out. This will prevent the new, delicate roots from rotting without starving them of the water and nutrients they need.
Fertilizer
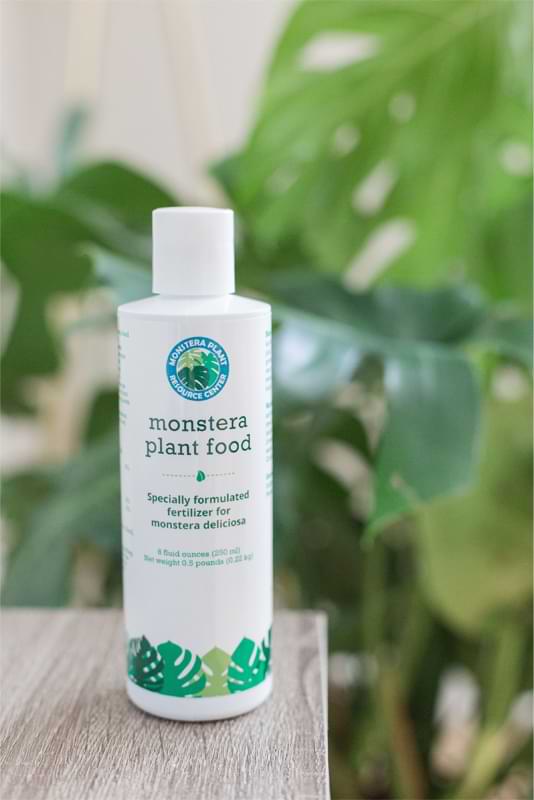
A newly propagated plant should not be fertilized for the first couple of months after propagation. This is simply to allow the plant to establish itself in its new home without the risk of fertilizer burn. When this time has passed, feed your new plant with an Monstera Plant Food. This is designed to be given at each watering, giving your plant a small amount of nutrients each time instead of a heap of nutrients all at once like normal fertilizers.
Common Problems After Propagating
After propagating you plant, give yourself a pat on the back! It’s a rewarding process and you get to enjoy even more plants in your home now. However, there are a few common problems that can occur after propagating in water. These include:
-Leaves turning yellow or brown: This is usually due to too much sun exposure or not enough nutrients in the water. Make sure to give your propagated Monstera some shade and transplant your cutting to soil once you have some good looking roots growing.
-Roots turning black: This is usually a sign of too little oxygen in the water. Make sure to check the roots regularly, and if you see signs of the roots turning black, you may need to transplant to soil soon. You can also add an air stone to your vase to increase oxygenation.
-Stunted growth: This can be due to several factors, including not enough light, not enough nutrients, or too much humidity. Make sure your propagated Monstera is getting at least 12 hours of indirect light per day. If it’s too humid, try moving the pot or vase to a drier location.
FAQ Propagating Monstera In Water
Can you propagate Monstera from leaf cuttings?
Yes, you can propagate Monstera from leaf cuttings! Many people do not like propagating from leaf cuttings because it takes much longer and makes the plant more susceptible to rot, but it can be done with patience and a lot of care. The main problem with propagating from a leaf cutting is the fact that there is no node for new roots to grow from, meaning the cutting has to do a lot more work to sprout new roots.
What happens if you put Monstera aerial roots in water?
A monstera’s aerial roots are not designed to live in the soil. Aerial roots do absorb some moisture, but their main purpose is to provide stability for the plant as it grows up trees in its natural habitat. Putting a monstera’s aerial roots in water could lead to those aerial roots rotting and making your whole plant more susceptible to disease and rot.