
Monstera adansonii, or Swiss cheese plant, is a beautiful and unique plant that is native to tropical regions of Central and South America. The leaves are large and glossy, with distinctive holes or fenestrations that give the plant its common name. They are a large, vining plant, and make a stunning addition to any home.
Swiss cheese plants are relatively easy to care for and make an excellent addition to any indoor jungle, so keep reading to learn how to propagate this beautiful plant and share a bit of green-thumb love with everyone you know!
Table of Contents
How To Propagate Swiss Cheese Plants
Swiss cheese plants are very easy to propagate by stem cuttings. You’ll want to have some tools on hand to make the process go quickly, so gather the supplies listed below and let’s propagate your beautiful Swiss Cheese plant to fill your home with more plants!
Tools and Equipment Needed
To propagate a Swiss cheese plant, you will need the following tools and equipment:
- A sharp knife or pruning shears
- A clean, empty pot or container
- Fresh, well-draining potting mix
- Rooting hormone
- A humidifier or humidity tray
Once you’ve gathered the tools above, you should be ready to propagate your plant. It’s also a good idea to cover your workspace with either a towel or some plastic to make cleanup a bit easier.
It’s not ideal to do this somewhere that is significantly different from the environment where the parent plant usually calls home, only because it can cause unnecessary stress to both the parent plant and the cutting. So you can move the plant to the kitchen to do this (or another room inside), but don’t move the plant outside to do this in temperatures significantly below or above what your home is typically kept at.
Taking Cuttings From Swiss Cheese Plants
Taking a cutting from an existing plant is the easiest and fastest way to get a new Swiss Cheese plant. You can also grow a Swiss Cheese plant from seed, but propagation from a cutting is the most common way to get new plants.
How To Take A Cutting
To take a cutting from a Swiss cheese plant, first choose a healthy stem that is at least 6 inches long. Cut the stem just below a node (the point where leaves emerge) using a sharp knife or gardening shears. Remove any leaves from the bottom half of the cutting, and dip the cut end in rooting hormone.
Propagating Swiss Cheese Plants
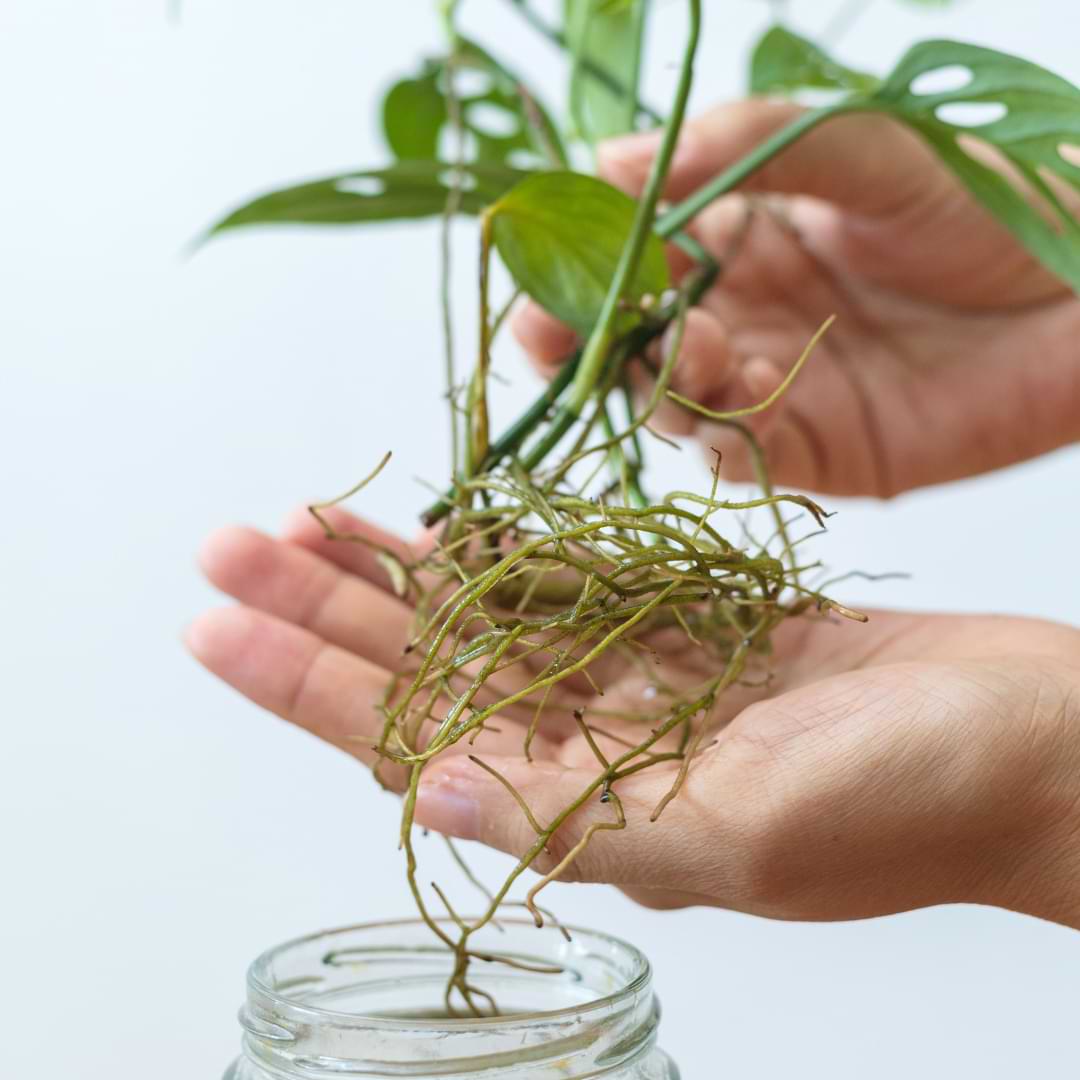
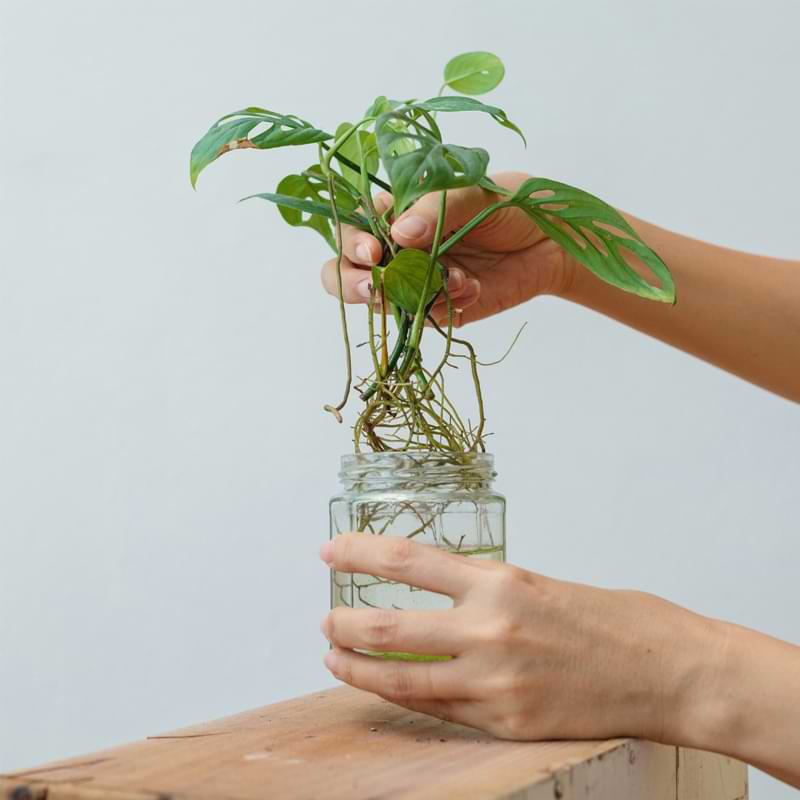
After taking your cutting, you can root it one of two ways to make a new plant. You can either root your cutting in water or directly in soil. Both methods are easy to do, and both methods have their own advantages and disadvantages. Keep reading to learn more about each method, and how to have success with either method.
1) Rooting In Water
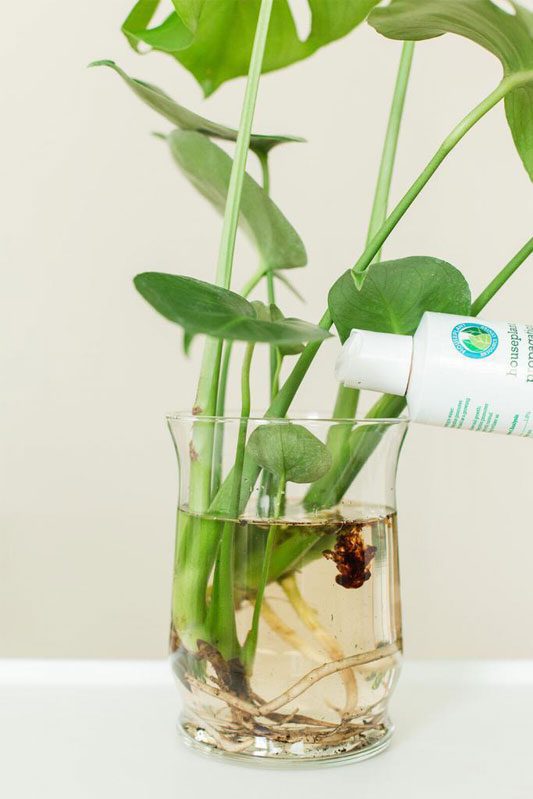
To root your brand new cutting in water, all you need is a jar of clean, room-temperature water, your rooting hormone, and some plastic wrap from your kitchen. Simply fill your jar with water and put the plastic wrap over the opening. Then cut a hole in the center of the plastic and place the cutting inside.
Covering the jar with the plastic wrap like this will ensure less dust gets in the water and no bugs decide to use it as their watering hole, potentially transferring disease to your vulnerable cutting.
Place your jar somewhere it will receive indirect sunlight, and replace the water every two to three days. The first couple of times you replace the water, you can add more rooting hormone directly to the water. This isn’t entirely necessary, but it could help speed up the rooting process. Then simply wait for new roots to form. This can take anywhere from two to eight weeks, so be patient!
Once your cutting has a good set of roots, plant your cutting in a small pot with well-draining soil, and water it thoroughly. Then you can follow a regular watering schedule.
How long does rooting in water take?
Rooting in water is sometimes quicker than rooting in soil, and it can take approximately two to four weeks to begin seeing new root growth. There are many factors that can affect the timeline, but generally, a cutting will begin rooting within six weeks. If it’s taking longer than that, try rooting in soil instead, or try again with a new cutting.
2) Rooting In Soil
To root your cutting in soil, place the cutting with rooting hormone on the end in a pot of well-draining soil, packing the stem in gently but firmly to prevent it from falling over. There should be at least two inches of the stem buried in soil.
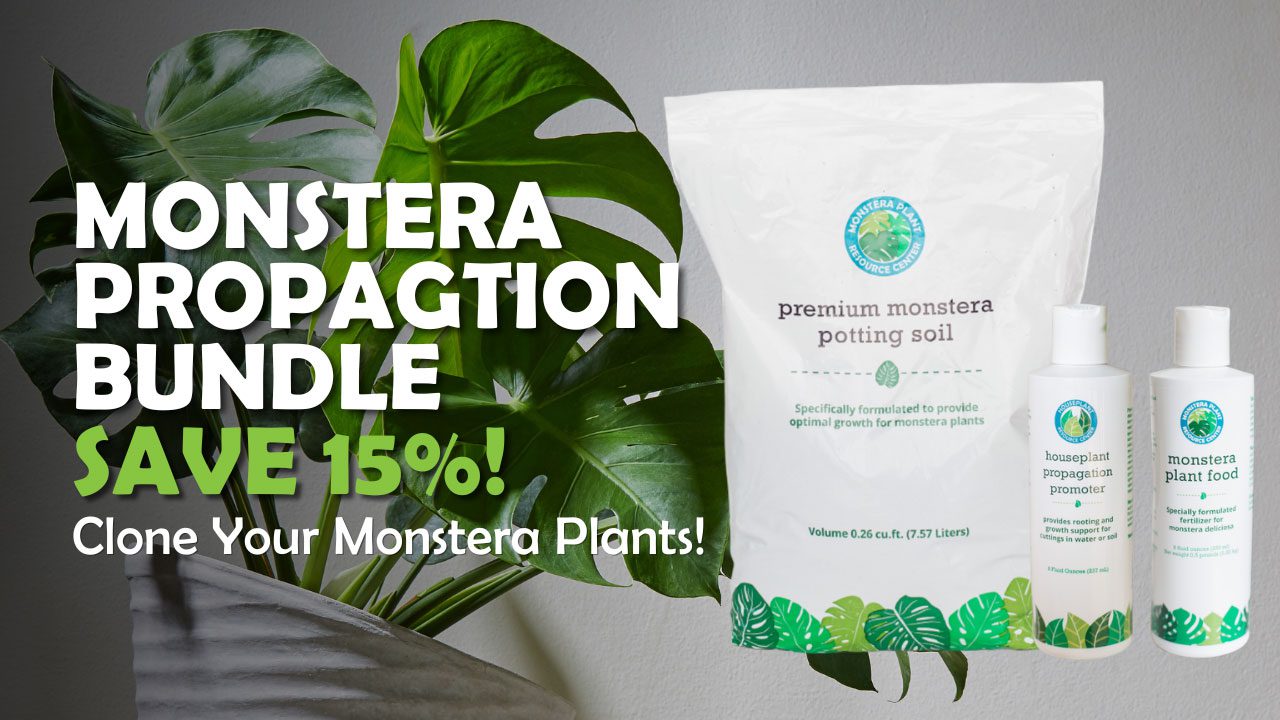
You can use a standard indoor plant potting mix or create your own mix with equal parts perlite, peat moss, and vermiculite. The best soil to use is a mix that is made specifically for Monsteras, like this monstera potting soil. Water the soil until it is evenly moist but not soggy.
To promote root growth, place the pot in a warm location out of direct sunlight. A south-facing windowsill is ideal. Keep an eye on the soil and water as needed to keep it moist but not wet. In about four to six weeks, you should see new growth emerging from the leaf nodes, although growth above the soil can take up to eight weeks to see. Once the plant has established itself, you can move it to its permanent location.
Propagating Monstera From Seed
If you want to grow your own monstera plant from seed, it’s not as difficult as you might think. With a little patience and the right conditions, you can have success propagating monstera from seed. Some items you may want to have on hand to make the process smoother include a seed tray, a germinating heat mat, and of course, the seeds and some water.
These items aren’t all required to grow a monstera from seed, but it will make the process easier and possibly even faster! A seed tray will help to separate plants if you want to grow more than one, and the heat mat will simply help to keep the soil temperature higher to promote faster germination. But without either of these, you can still have great success growing a monstera plant from seed!
Germinating Monstera Seeds
To start, you’ll need fresh monstera seeds. You can find these online or at a nursery. Once you have your seeds, soaking them in water for 24 hours will help them germinate faster.
After soaking, plant the seeds in your seed tray, or just a regular pot with moistened potting mix. Be sure to plant them shallowly, only about 1/4 inch deep. Then place the pot in a warm location out of direct sunlight and keep the soil moist but not soggy. Using the germinating heat mat will help keep the soil at the ideal temperature even in a colder home.
It can take several weeks for the seeds to germinate, so be patient. Once they do sprout, give them indirect light and continue to keep the soil moist.
As the seedlings grow, you can thin them out so that each one has its own space. When they’re large enough, transplant them into individual pots filled with fresh potting mix. Keep up with regular watering and fertilizing, and soon you’ll have full-grown monstera plants of your own!
Once your seeds have germinated, thin them out so that only the healthiest looking seedlings are left. After those have grown a bit more, transplant them into individual pots filled with a high-quality monstera soil mix and water them well.
Common Problems After Propagating Swiss Cheese Plants
A recently propagated plant is always going to be more vulnerable to certain problems, so it’s important to look out for any potential issues and keep a close eye on your plant for a couple of months after you’ve begun to see new growth. Here are just a few potential problems to look out for with your newly propagated plant, and how to take care of those problems before they take your new plant from you.
Yellow or brown leaves: The leaves of your Swiss cheese plant cuttings may turn yellow or brown. This is usually caused by too much sun exposure or not enough humidity. There are of course other causes behind leaves turning a color they’re not supposed to be, but these are the most common with newly propagated plants. Fix the environment first, and if that doesn’t fix the problem, look into other potential causes like underwatering or not getting enough indirect sunlight.
Unsuccessful rooting: Your cuttings may rot before they have a chance to root. This can be caused by too much moisture or not enough drainage. Make sure to keep a close eye on your cuttings, and remember, sometimes a stem just will not root. There may not be anything you can do in this situation, but starting the process strong with rooting hormone and the right soil will help significantly.
Mold growth on the cutting or the soil around it: You may see mold growing on the leaves or stem of your Swiss cheese plant cuttings. This is usually caused by too much humidity or not enough air circulation. Make sure to keep your cuttings in a well-ventilated area. It’s a tough situation to have, because monstera’s need humidity, but that’s what is helping the mold grow, too. A natural remedy for mold is a dash of ground cinnamon on top of the soil and on affected parts of the plant. If you catch it soon enough, you should be able to fix the problem before it kills your new plant.
If you notice any of these problems, don’t worry! There are still plenty of things you can do to save your Swiss cheese plant cuttings. Just be sure to act quickly and do what you can to help keep your cuttings from succumbing to these issues.
FAQ How To Propagate Swiss Cheese Plants
Can you speed up monstera propagation?
To help speed up the rooting process, it is important to use fresh, healthy cuttings and provide them with optimal growing conditions. The cutting should be taken from a healthy plant that is actively growing. It is best to take the cutting in the morning when the plant is fully hydrated.
The cutting should be made with a sharp knife or pair of scissors. It is important to make a clean cut so that the plant can heal quickly and minimize the risk of infection. The cutting should be about 4-6 inches long and include 2-3 leaves.
On top of this, using a rooting hormone will help to speed up the process. Some people have seen roots begin to form only a week after propagation using a high-quality rooting hormone!
Can you propagate a monstera without a node?
While it’s not impossible to propagate a monstera without a node, it is significantly more difficult. Make sure to use rooting hormone to give your cutting the best chance at survival, and follow the rest of the steps provided above. It also may take longer to see root growth if you propagate a stem without a node, so hold on to hope and keep giving your plant the care and attention it needs.
Can you grow a Swiss cheese plant from just a leaf?
It is possible to grow a Swiss cheese plant from just a leaf with a node. However, it is important to take care when doing so, as the leaf can easily rot if not cared for properly. When propagating from a leaf, it is best to use a sterile knife or razor to avoid introducing any bacteria or fungus to the leaf. Once the leaf is cut, it should be placed in a well-draining potting mix and kept moist but not wet. It is important to keep an eye on the leaf and make sure that it does not rot, as this will ruin any chance of propagation. If all goes well, the leaf will eventually produce roots and new leaves, at which point it can be transplanted into its own pot.
Propagating a Swiss Cheese plant is an easy and fun way to fill your home with more beautiful greenery. It’s a great way to share your love of plants with friends and family, as well. Now that you are well-educated on how to propagate a Swiss Cheese plant, try it out and see how easy it is to do!
We would love to hear about your experience propagating your Swiss Cheese plant, so feel free to share with us below! Happy propagating!
More Monstera Resources
Check out our other free resources to become a monstera plant care expert!